
Featured Project
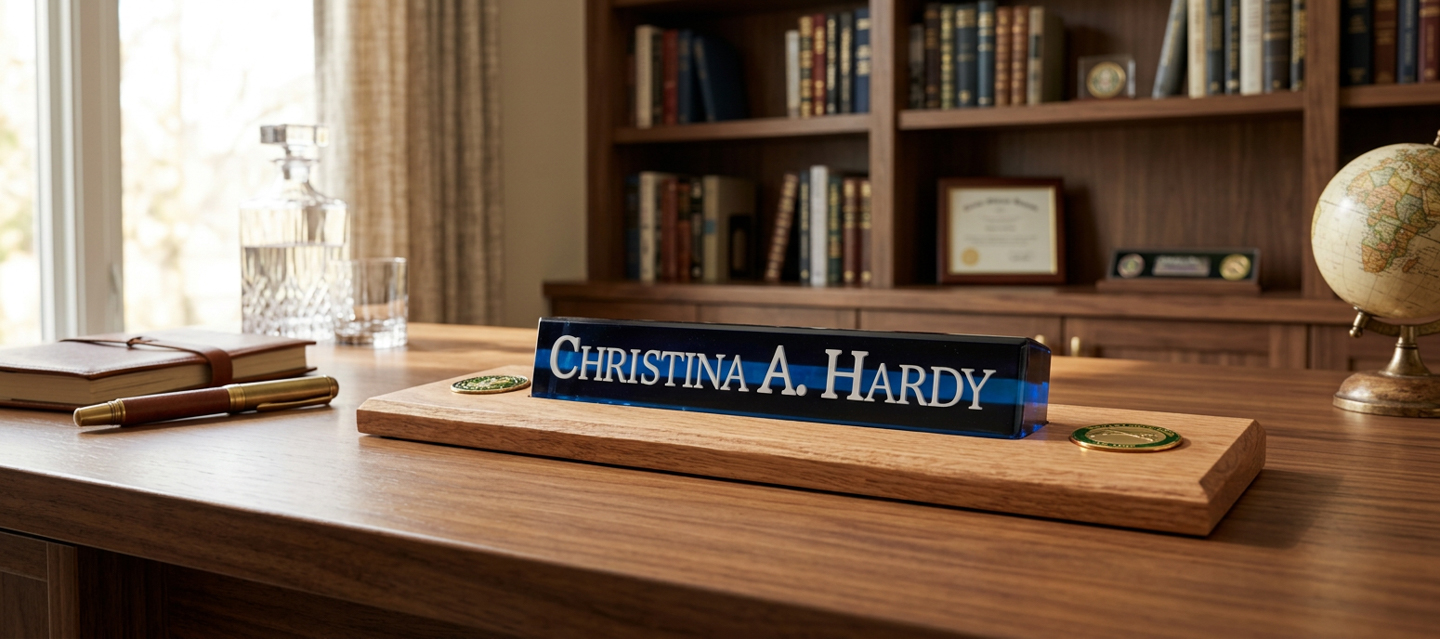
A Desk Nameplate, Reinvented for a Commander
What started as a five minute observation during a drill weekend turned into a multi week build with a CNC machine, a 3D printer, three batches of tinted epoxy, and a block of white oak.
Branch: Army National Guard · Build time: about three weeks
Branch
Army National Guard
Role Represented
Military Police (MP)
Core Materials
White oak, tinted epoxy resin, 3D printed PLA
Techniques
CNC carving, 3D printing, resin casting, hand finishing, laser engraving
The Nameplate That Started It
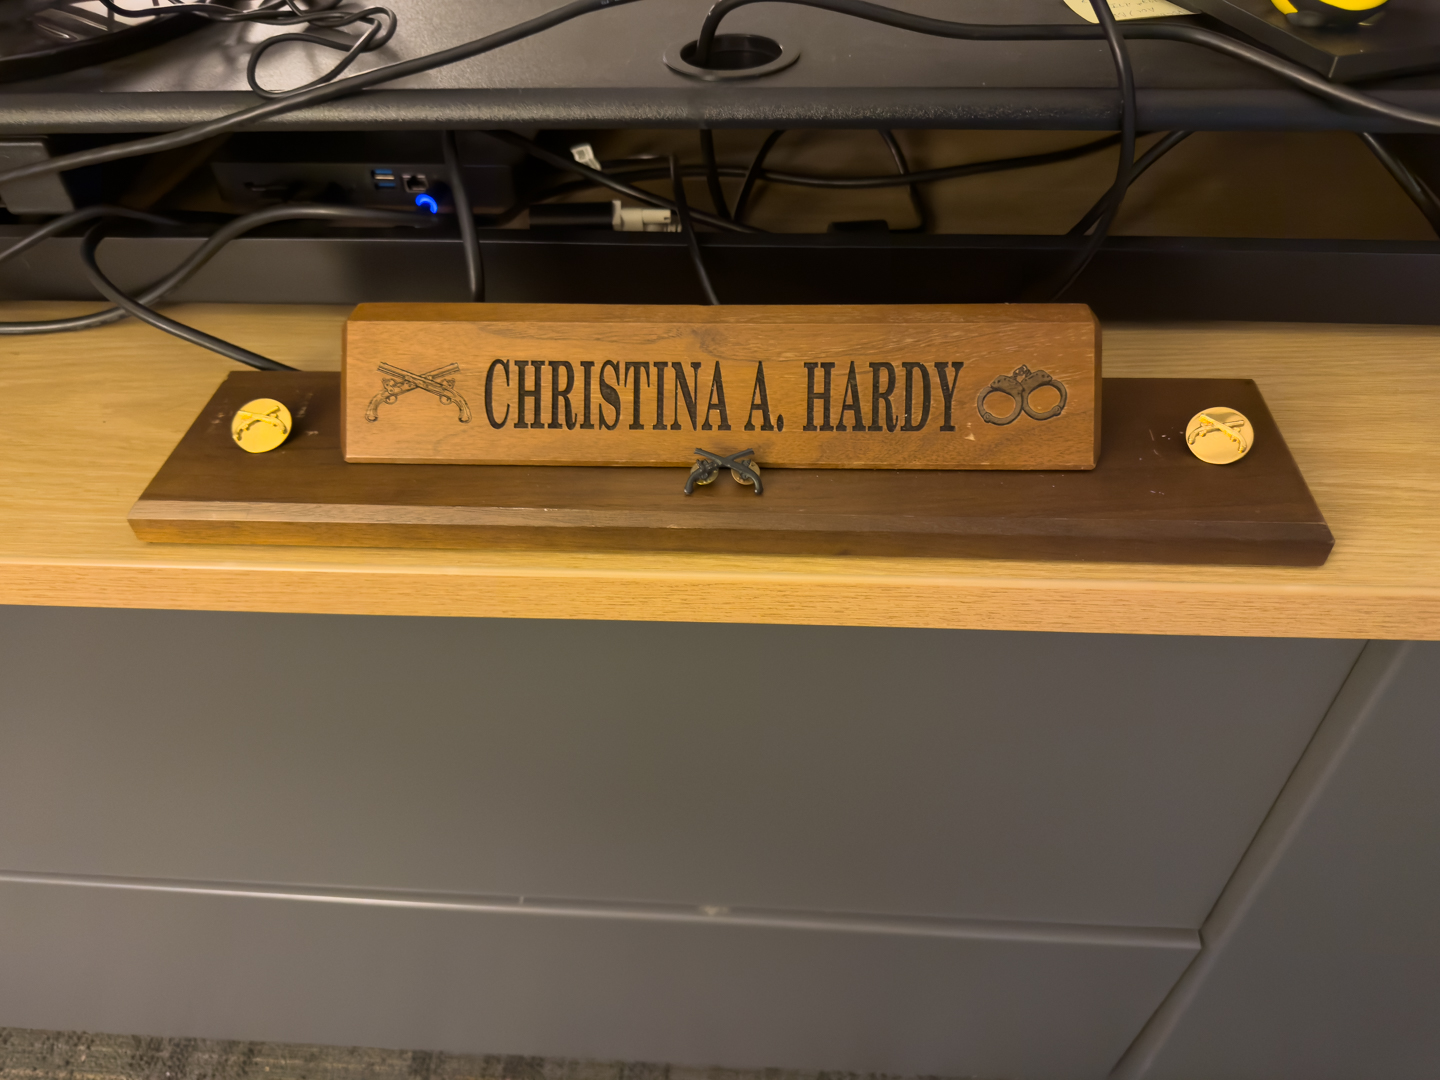
The idea came from noticing the commander’s desk nameplate had seen better days. The engraving was worn and the finish had dulled.
She had seen our plaques and awards made for soldiers retiring or moving to a new assignment.
We used the old nameplate as a starting point for a more personal design.
First Pass: Maple and Black Epoxy
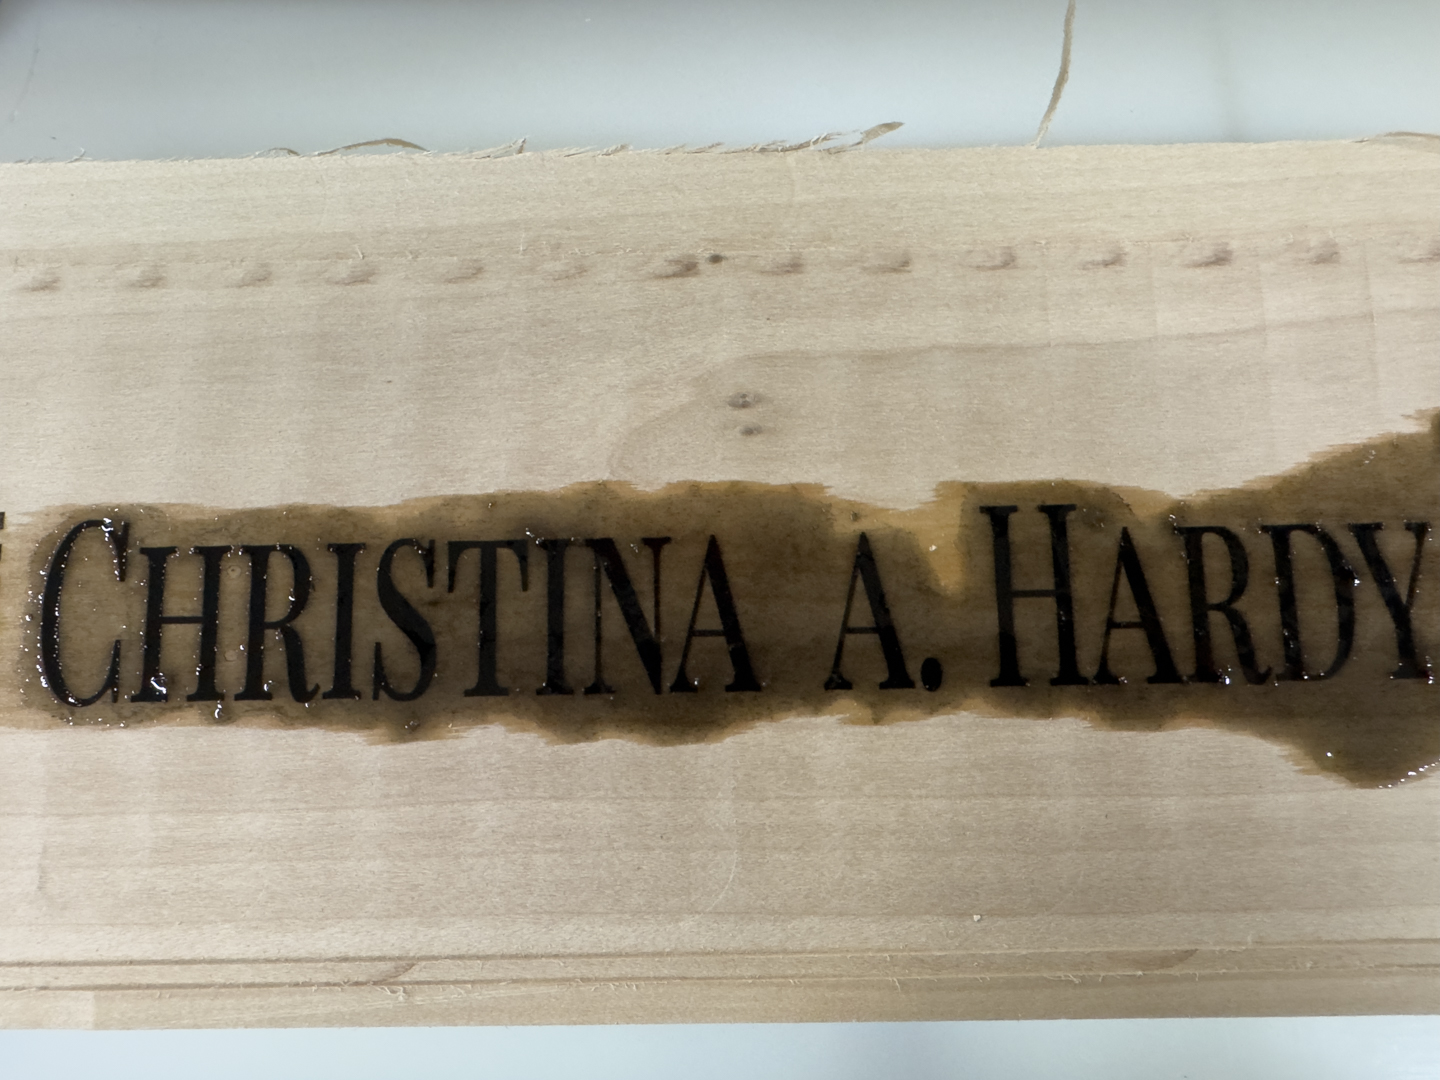
A few days later we were back in the garage sketching ideas. Our first instinct was simple: build a cleaner version of what she already had. We started with a block of maple, carved her name into it with the CNC machine, and filled the letters with black epoxy resin. Once it cured, we stepped back and looked at it.
That is when we stopped liking the plan.
Building Around Her Service Instead of Copying the Old One
A straight replacement felt like a missed opportunity. She is a Military Police (MP) officer, and that gave us something better to build around. Instead of matching her old nameplate, we decided to design one around her branch, working in a thin blue line and details that would mean something specific to her.
That single decision is what turned a simple swap into an actual project.
Printing the Letters
We used our Bambu Lab Carbon X1 3D printer to print her name in white PLA filament, one letter at a time. The plan was to set the letters into the resin rather than carve them, so the lettering would read as part of the material instead of sitting on top of it.
Pouring the Nameplate, Layer by Layer
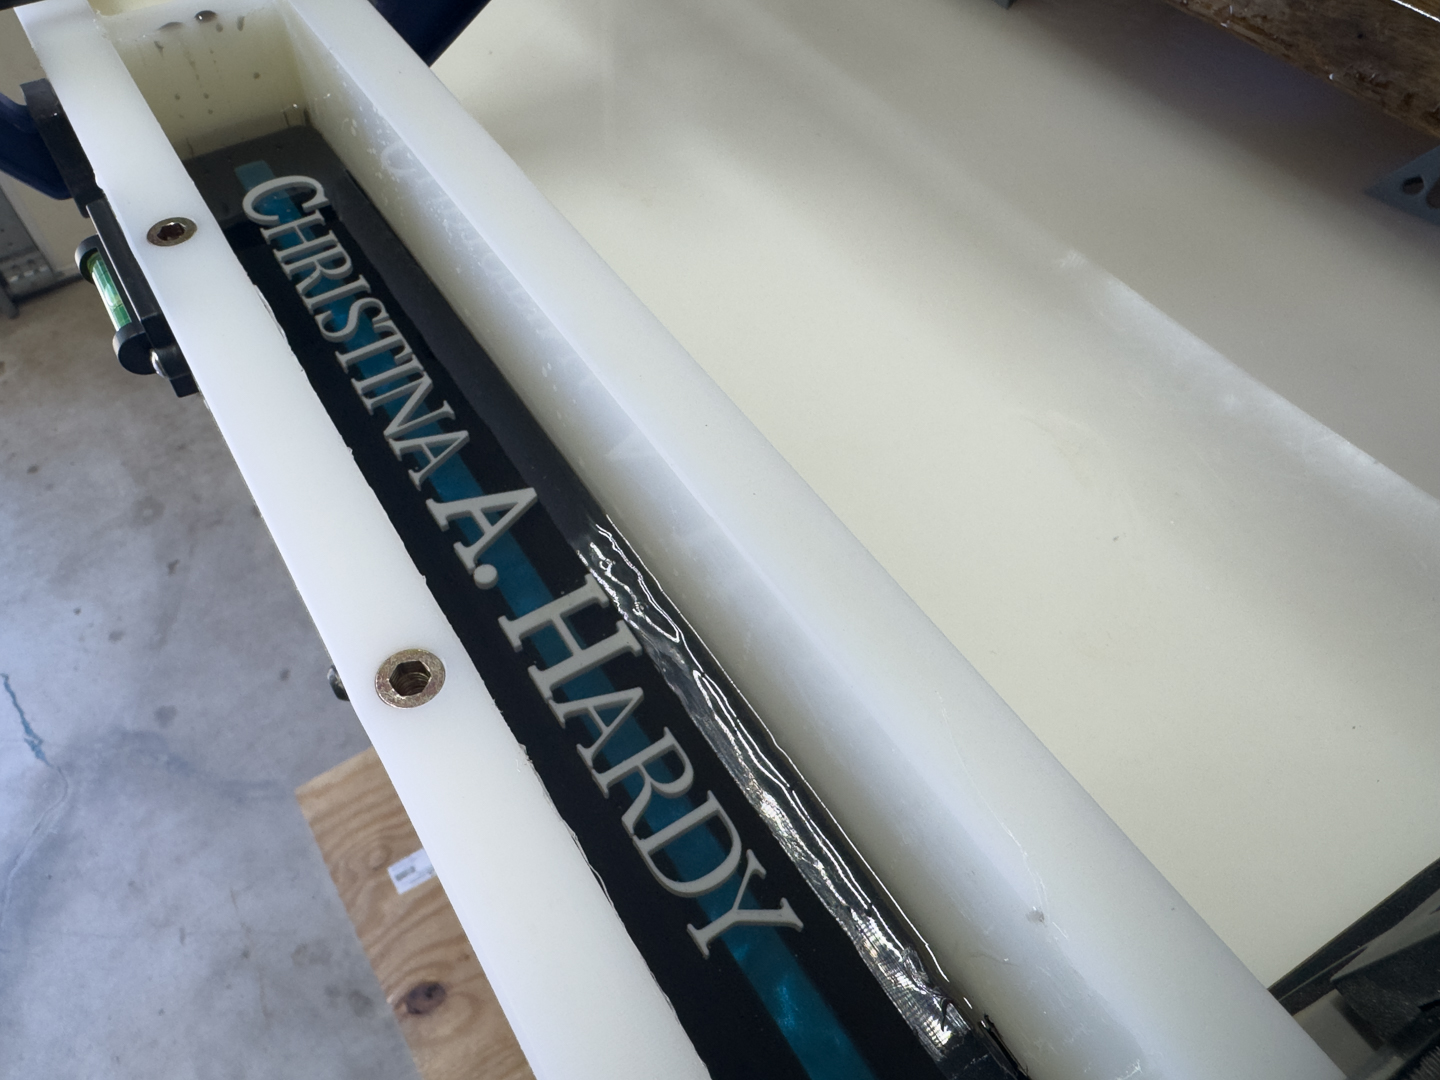
Both parts of the nameplate came out of the same reusable mold sheet, a GROWLING Extra Large Epoxy Resin Mold, cut down to two different sizes. The first mold was small, about a quarter inch by a quarter inch by twelve inches. We poured it with TotalBoat ThickSet Deep Pour Epoxy Resin tinted with blue pigment powder, and once it cured this became the thin blue line running through the middle of the piece.
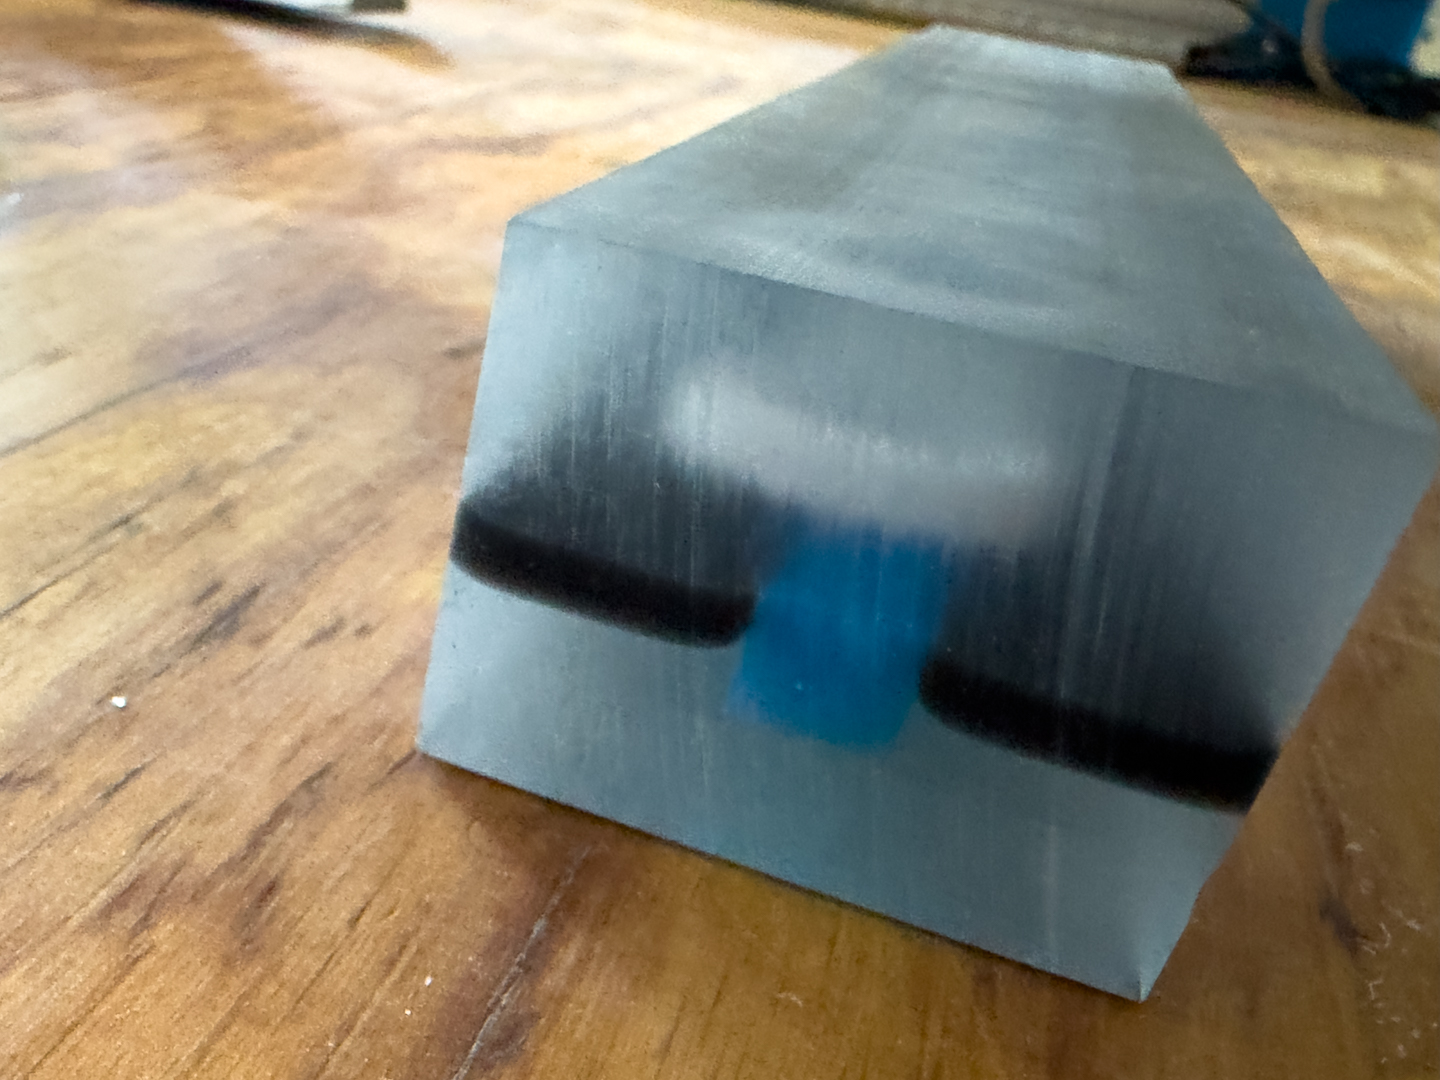
The second mold held the actual nameplate, about two and a half inches by two and a half inches by twelve inches. This part took several days, since we had to let each layer harden before pouring the next.
Day One: Clear Base
About half an inch of clear TotalBoat ThickSet Deep Pour Epoxy Resin, poured and left to set.
Day Two: Black Layer and Blue Line
Black tinted epoxy poured around the cured blue line strip, set in the center of the mold, filling it about halfway.
Day Three: Letters and Final Pour
The printed letters placed into the mold, then covered with about half an inch of clear epoxy.
When the Letters Started Floating
This is where the project got interesting. When we printed the letters, we left the infill at the default fifteen percent, which meant each one had a pocket of trapped air inside it. Epoxy is dense enough that hollow plastic wants to float, and sure enough, some of the letters started drifting toward the surface as the resin cured.
Not every letter floated, but the ones that did rose slowly enough that we could stay ahead of them. We sat there with a toothpick, pushing each one back down every time it crept up, until the epoxy finally set enough to hold everything in place. It got a little messy for a few minutes. It also worked.
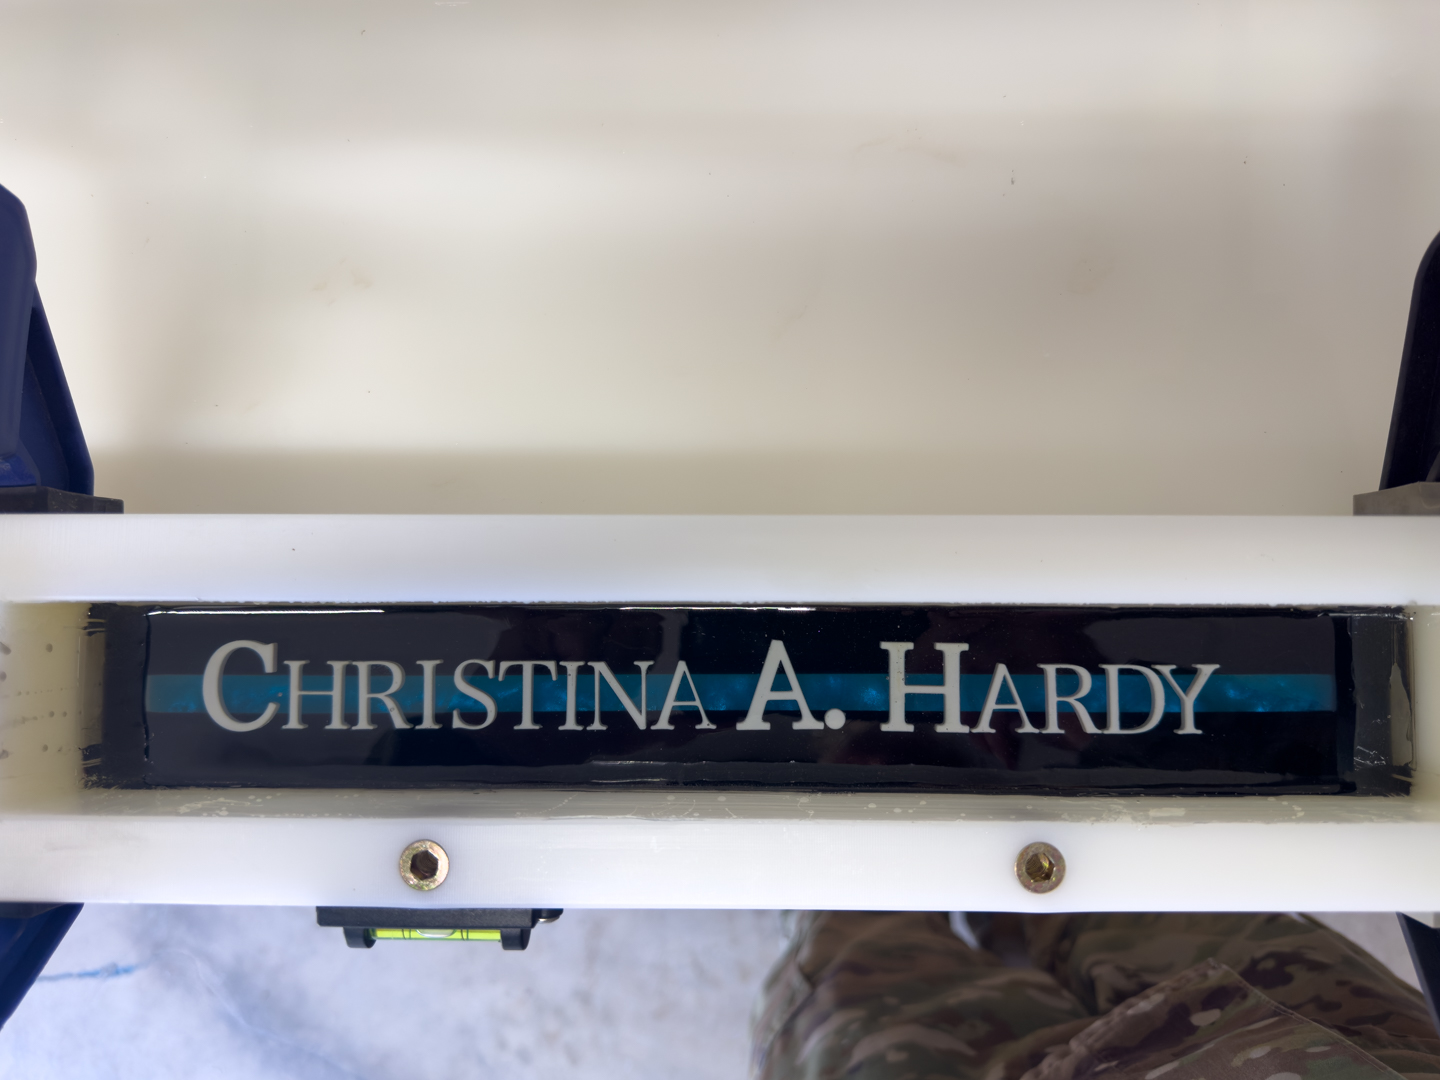
The printed lettering became part of the layered resin design.
Shaping and Finishing the Block
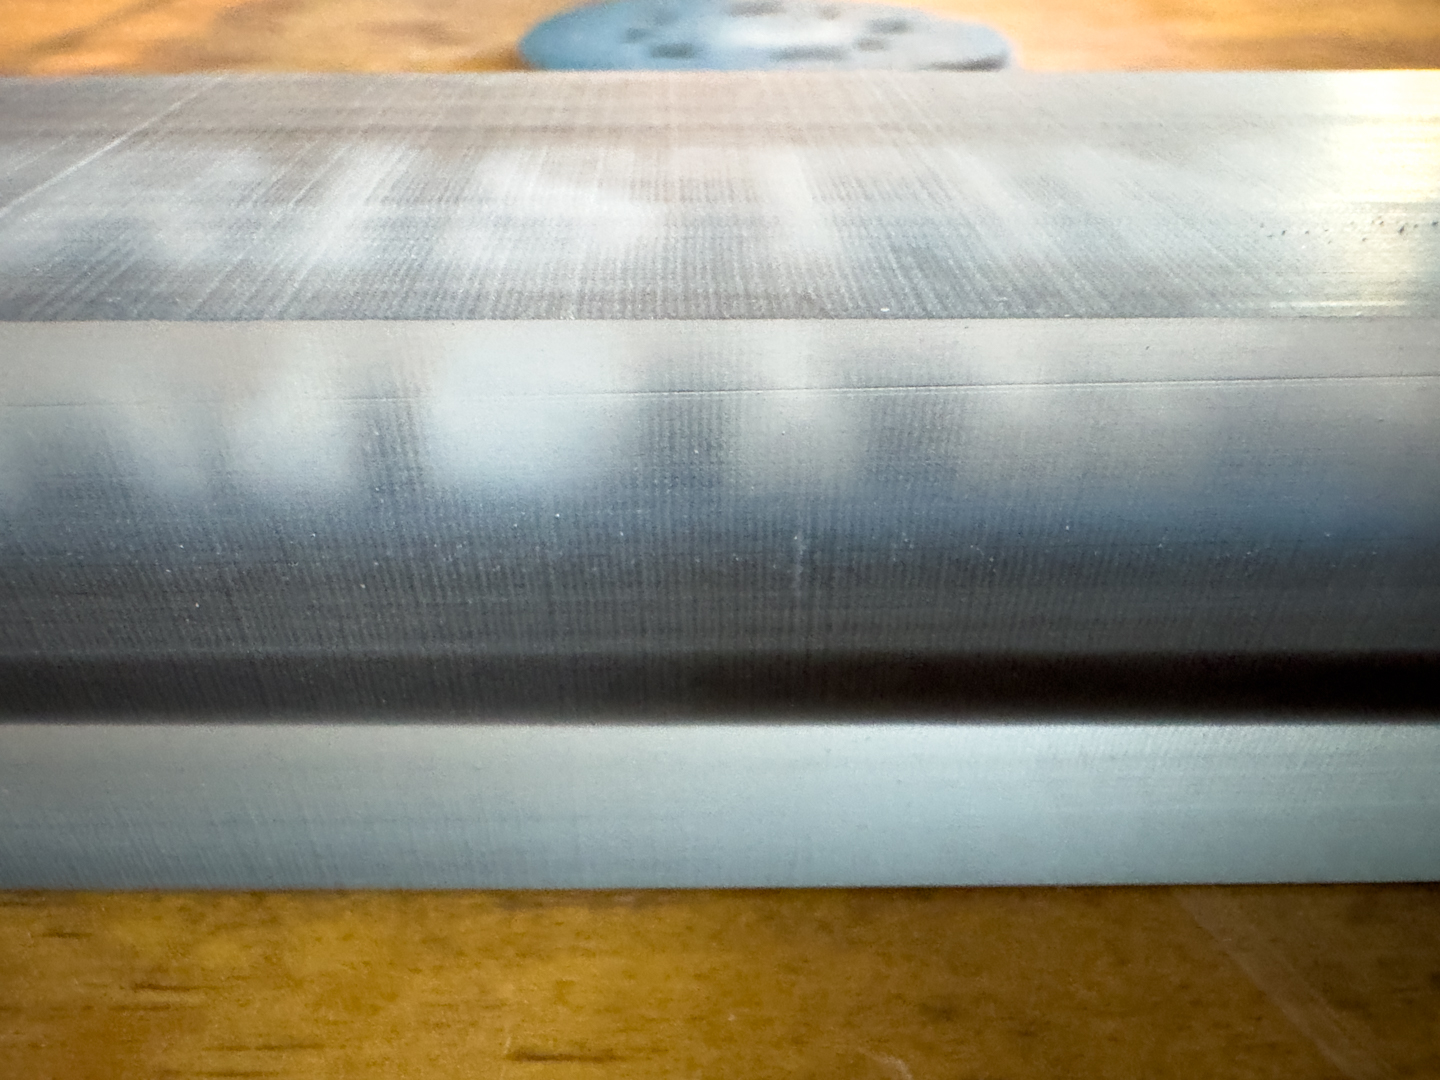
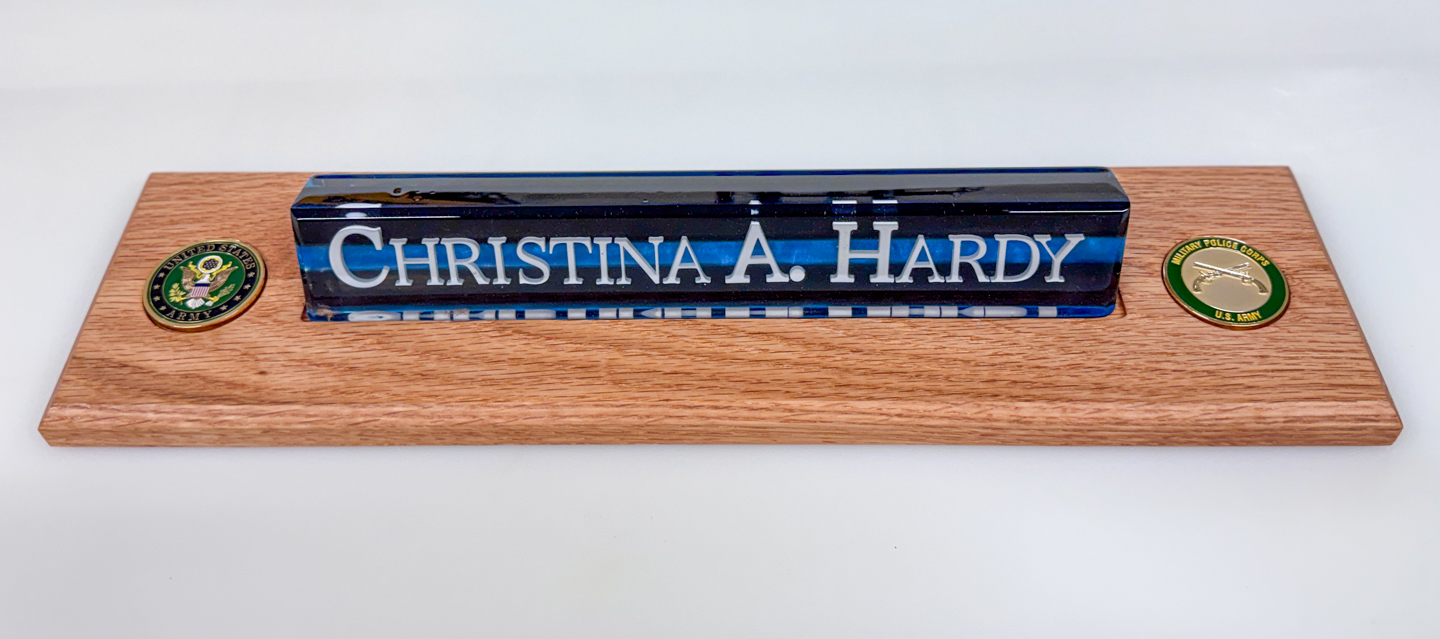
Once everything cured, we pulled the block out of the mold and started shaping it. We squared off all four sides and cut a slight angle into the bottom, so the finished nameplate would tilt the lettering up toward whoever is looking at it.
From there we sanded through the grits, starting at 180 and working up to 600, wiping the surface down with alcohol between each one. Once the sanding was done, we brushed on a thin coat of TotalBoat Table Top Epoxy Resin over every side to bring the shine back.
Building the Base
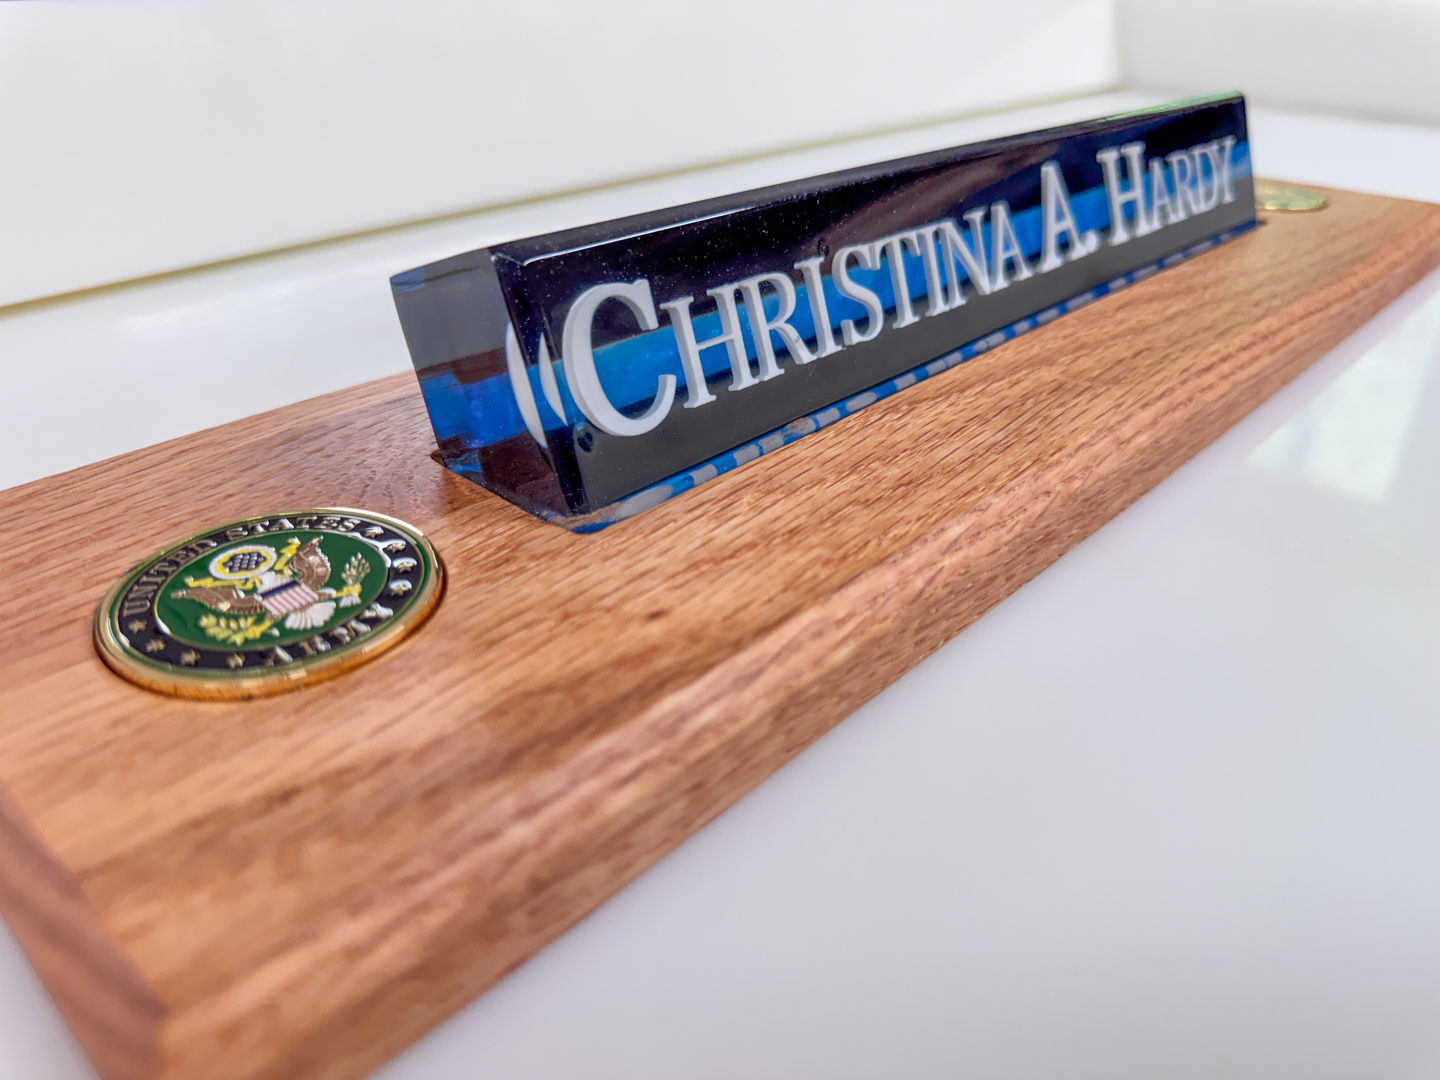
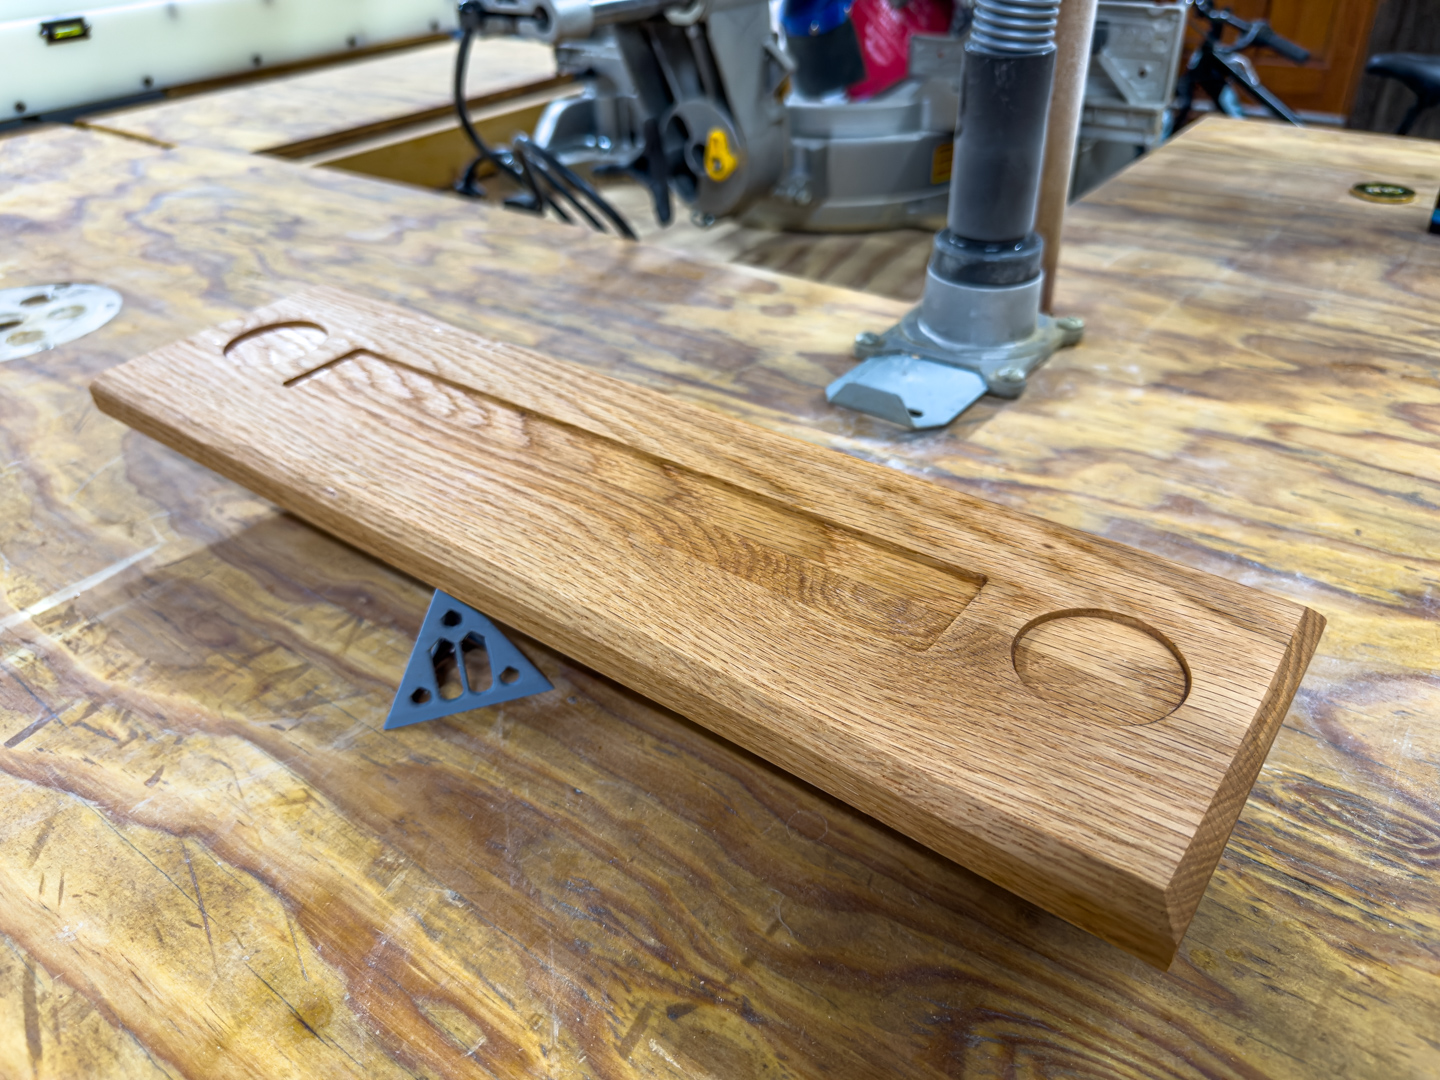
The nameplate needed something to sit in, so we cut a piece of three quarter inch oak down to about sixteen by four inches. We used the CNC machine to cut a recess in the center for the epoxy block to seat into, along with two smaller recesses on either side, sized for a pair of U.S. Army Military Police Corps Challenge Coins.
A trim router gave the top edge of the base a chamfer, and the laser engraver put a personal message on the underside, where only she would ever see it. We sanded the oak to 220 grit and finished it with Walrus Oil Furniture Butter, a paste wax made from tung oil, carnauba wax, and pine rosin.
The Finished Piece
She keeps it on her desk now, coins and all.
Materials and Tools Used on This Piece
- CNC machine, used to carve the maple block and cut the oak base recesses
- Bambu Lab Carbon X1 3D printer, used to print the name in white PLA
- GROWLING Extra Large Epoxy Resin Mold, 48 by 24 by 3 inches, used for both resin pours
- TotalBoat ThickSet Deep Pour Epoxy Resin, used for all three epoxy layers
- TotalBoat Table Top Epoxy Resin, used for the final finish coat
- U.S. Army Military Police Corps Challenge Coins, set of two, set into the oak base
- Walrus Oil Furniture Butter, used for the final wax finish on the oak base
- Trim router, used for the chamfered edge on the base
- Laser engraver, used for the personalized message on the underside of the base
- Three quarter inch white oak, cut to about 16 by 4 inches, used for the base
- Blue and black pigment powders, used to tint the epoxy layers
Why This One Mattered
A worn nameplate became a chance to make something personal, with colors and details chosen for the person using it.
We can make a version for you, too. Order this design.